Thursday, August 23, 2012

Quiet Book - Dress Up - Pages 4 & 5


 The Dress Up pages were almost exactly the same as the Mr. Potatohead pages.  

I used lots of different color felts, Wonder Under, my 2 Pellon pages, fusible velcro, and a brad for the doorknob.  

I found a great template here to follow.  

Just like Mr. Potatohead, I used the template to cut the little girl out of Wonder Under, iron it to some beige felt, then fuse it to my Pellon.  I was on my own for the hair, so I played around on the Wonder Under until I had something usable, then ironed it to brown felt and fused it to the little girl's head and used a black marker to give her eyes and a mouth.  Then I sewed around the edges to finish the page.

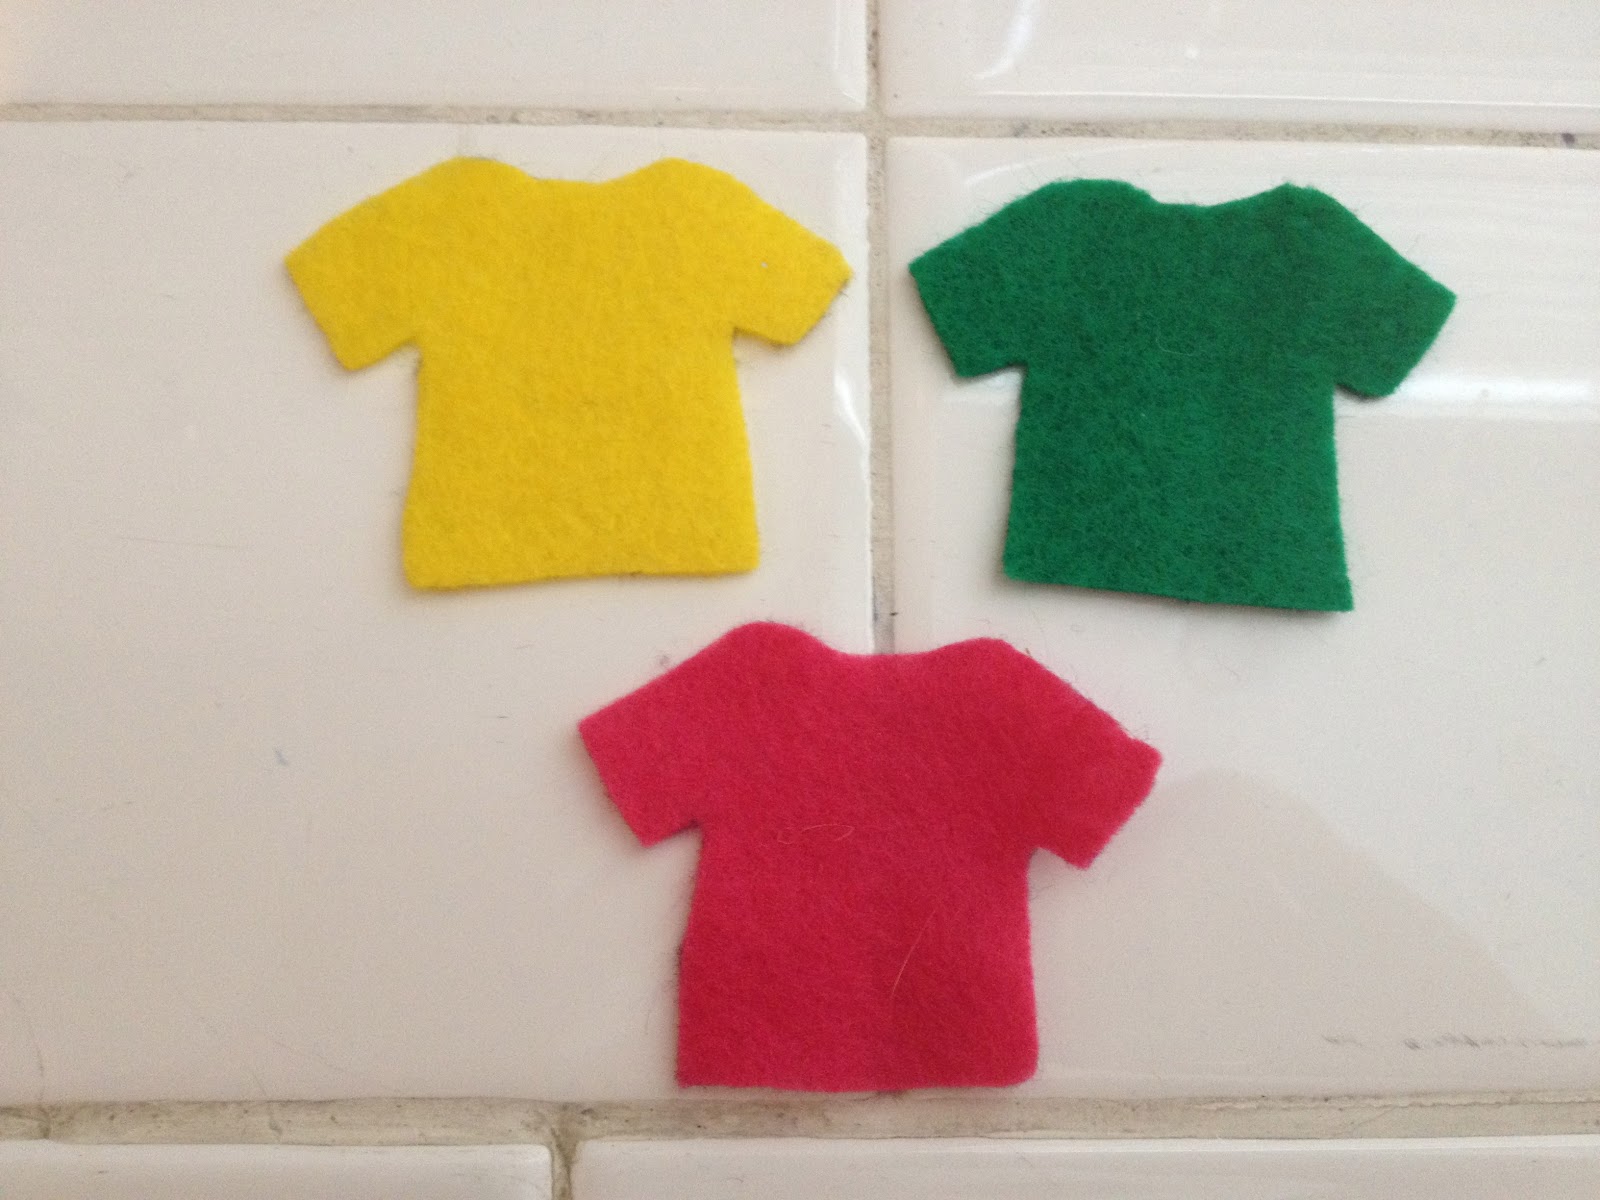
I did the clothes just like the Mr. Potatohead accessories, using the template to cut them out of felt.  (I did fuse the white belts onto the dresses using Wonder Under.)  Once again, I didn't add anything to fasten the clothes to the girl because felt sticks to felt.  


Her closet is almost exactly the same as the Mr. Potatohead's accessory box.  I cut out a large piece of brown felt that was the size of two doors (so that I could fold it and open it like a door).  I cut 3 slits in the back part of the door, then sewed around the back half of the door and then across the back 2 times about an inch and half below the top two slits.  
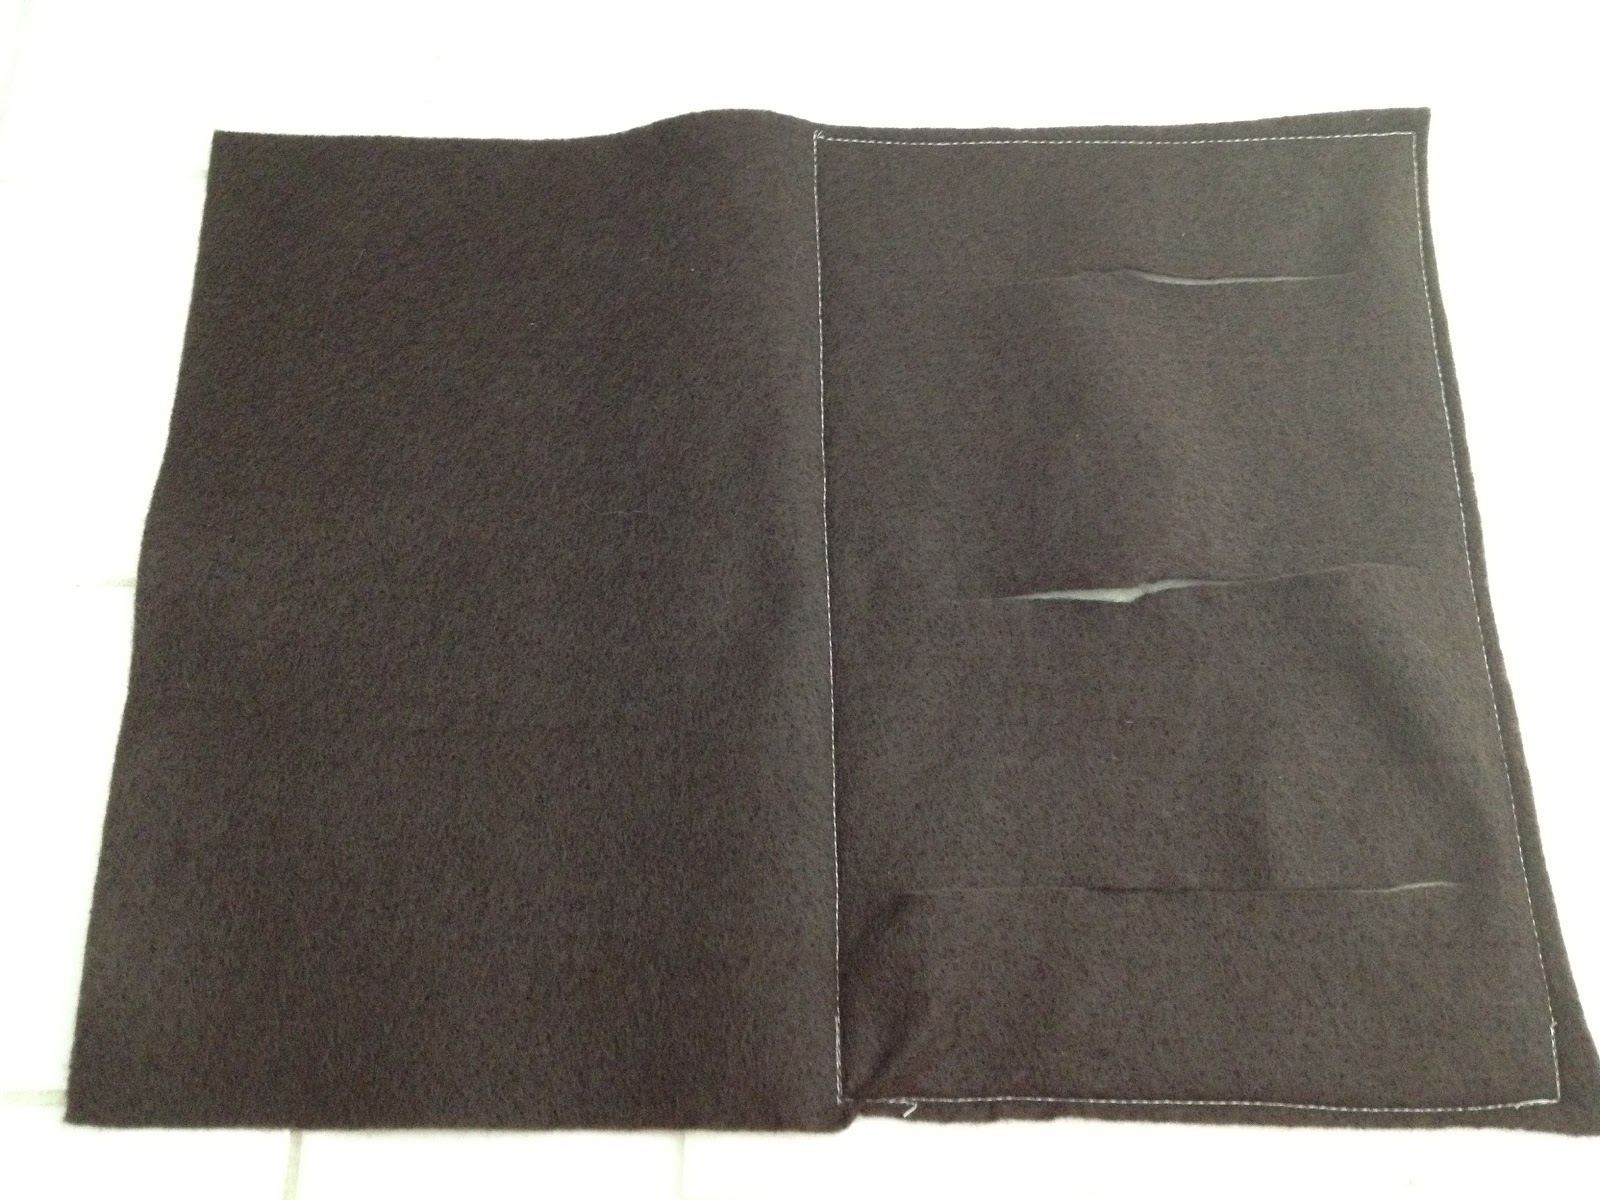

To finish the door, I stuck the brad through the door creating a doorknob and spread the prongs in the back.  Then I fused a smaller piece of brown felt over the prongs.  

I then added a piece of velcro to keep the door closed.  

Quiet Book - Mr. Potatohead - Pages 6 & 7


 For this page, I used a bunch of different color felts, some Wonder Under and 2 Pellon Pages.  I also used some of those nifty felt letters that I had left over from the counting pages to decorate the accessory box.  

I found a few Mr. Potatohead templates online.  You can check one of them out here.

I did Mr. Potatohead first by using the template to cut out the hands and body in Wonder Under and then ironing it to the tan felt, fusing him to the Pellon page, then sewing around the edges.  I wanted to make his arms white, but since the background was white I opted to use the same color as the potato part.  

I also used the template to cut out different accessories (eyes, lips, mustaches, shoes, hats, etc) in different color felts.  I decided not to use anything to attach the accessories to the potato because felt kind of sticks to itself.  

To make Mr. Potatohead's accessory box, I cut out a long rectangle out of black felt (because I had a lot of that color) so that I could fold it over and have the box.  I cut 3 slits in the back part of the box and then sewed around the edges of the back part of the box as well as two other times across about an inch and half under the top two slits.  


To finish it off, I fused some velcro on the bottom of the box to hold it shut and added the felt letters.  


Friday, August 17, 2012

Quiet Book - Brush the Dog's Teeth - Page 12


 The original idea for this page on Pinterest was of a monkey whose teeth you could brush.  My daughter just isn't that into monkeys, but she does love dogs.  I figured I should include at least one in my quiet book, so monkey became dog.  It's not really a great dog, but my daughter recognizes it as a dog and that's what matters most, right?

I used purple, white, black, beige, tan, brown, light pink, and dark pink felts, wonder under, matching thread, my Pellon page, and one set of fusible velcro.  

The first thing I did was make the toothbrush.  I cut 2 matching long pieces of Wonder Under, ironed them to purple felt and cut them out.  Then I cut one rectangular piece of Wonder Under, ironed it to white felt, cut it out, and fused it onto the white felt again creating a thicker double layer for the bristles.  I then sandwiched the white felt piece between the two purple pieces and fused them together so the white bristles were held in place. Fused a piece of velcro on the back and sewed around the edges.  Easy peasy.  

The dog was much more complicated.  

I started by cutting a head shape out of the Wonder Under.  I ironed only the top half of the Wonder Under to the beige felt, and cut out an entire head of beige using the Wonder Under to guide me for the bottom half.  

Then I stuck the tan felt between the Wonder Under and beige felt and ironed it to the bottom half of the Wonder Under head. 


 Then, I cut the tan felt.  The tan will be the bottom part of the mouth, while the beige will be the top part of the mouth and head. 


With the Wonder Under, I cut a tongue, ironed it to the bright pink felt and cut it out.


Then I cut out of the Wonder Under, the light pink inside of the mouth.


I took the paper off of the light pink piece and fused it to the open mouth piece.  

Now this is the tedious part - I cut out 19 tooth pieces from the Wonder Under, ironed it to the white felt, then fused them into the mouth.  10 on top, 9 on the bottom leaving a gap for the tongue.  

 Then I cut out an ear piece of the Wonder Under, mirrored it for the other ear, ironed them to the brown felt and fused them onto my Pellon page.


Last was the fun part of actually making it look more like a dog.  I fused the dog's head onto the page along with the tongue.  I used Wonder Under to cut out and fuse the tan pieces for the eyes, the black eyes, and the nose.  Then I sewed the edges in matching thread.  I didn't bother with sewing the eyes, nose, or teeth.  Last, but not least, I added the other piece of velcro to the top to hold the toothbrush when it's not in use.  

Saturday, August 11, 2012

Quiet Book - Sea Puzzle - Pages 14 & 15


In my quiet book research, I found tons of "puzzles" where you match colors or shapes.  Since my girl is super into fish and turtles right now, I decided to do an ocean scene.  

I used lots of different colored felt, Wonder Under, my 2 Pellon pages, and fusible velcro.  I found some good patterns of sea animals here.  

The first thing I did was use the Wonder Under to fuse the turquoise ocean water to the pages.  

Then, I started off working with the whale because it was the simplest of all of the shapes.  I traced the whale twice on the Wonder Under, once one direction, and then one the mirror image.  

I picked which direction I wanted it to go on the page and fused it on.  Then I fused a piece of velcro onto it. 


For the whale puzzle piece, I took my other whale piece and fused it to more light blue felt and cut that out.  Then I put the other piece of fusible velcro on the bottom side of the whale and added an eye with a sharpy. 


Since it worked out pretty well, I did much the same thing with all of my other sea life.  

On my Wonder Under, I traced one forward and one reverse of the pattern for all of the animals.  For the fish that had multiple parts, I actually traced each part individually once going the opposite of the direction I wanted it on the puzzle, then cut out the pieces and taped them together and traced one forwards and one backwards.  For the turtle, I did the same as the whale, but then I also traced an extra shell. 

Then I cut out all of the Wonder Under pieces and ironed them onto the appropriate colored felts.  Cutting some of these shapes is super tedious! 

Then I cut out all of my felt shapes. Again - tedious!

I fused one version of each onto the background and then fused velcro onto those pieces.  I used the hook part of the vecro on the bottom so that the separated fish wouldn't get stuck to everything.  

For the Octopus, I did the same thing as the whale - fuse the leftover octopus to more grey felt and cut that out, fuse on a piece of velcro.

The turtle was also very similar - fuse the leftover turtle onto another piece of green felt and cut it out.  Then I fused on the shell on top and the velcro on the bottom.

The fish were a bit more of a challenge.  I took the whole fish and took the paper off of just the top fin.  Then I pulled the paper off of my yellow top fin and fused them together.  It's probably a no no to have 2 layers of Wonder Under together, but it worked fine for me.  I kept going until I had fused each piece onto the whole fish, doing the body last.  

Then I sewed all of the pieces (pretty terribly) with matching thread if I had it to finish them off.  I only sewed the top part of the water background because the sides will get sewn when I put the pages together. 


Monday, August 6, 2012

Quiet Book - Ballet Slipper - Page 13


I didn't have a whole lot of time today, so I went with an easier page.  All I needed was some light pink ribbon, light pink felt, my Pellon page, some Wonder Under, and of course some pink thread for my sewing machine.  

I used the template for the shoe that I found here, traced it onto my Wonder Under, cut it out and ironed it to my pink felt.  Cut it out, took off the paper backing, and fused it to the white background.  

The rest of it was all about pinning the ribbon and then sewing it.  I made sure to leave my ribbon extra long and then cut it once I was finished.  Also, I burned the ends so that they wouldn't fray.  

It will be a while before my daughter is ready to practice tying things, but she LOVES ribbon, so I think she'll enjoy it now too. 

Thursday, August 2, 2012

Quiet Book - Duck in an Egg - Page 1


Today's quiet book page was pretty easy.  All it took was some background felt, yellow felt for the duck, orange felt for his beak and feet and stiff white felt for the egg.

I used Wonder Under to attach the pink background to the white Pellon page.  I couldn't use white because I wanted the egg to be white.  

Then I found this perfect pattern for a duck here so I printed it and traced the duck pieces onto my Wonder Under, cut them out, and fused them to the pink background.  


Next, I traced onto my stiff white felt an egg that would cover the entire duck, cut it out and cut in half with a zig zag.  
To finish it up, I put an eye on the duck, sewed the top and bottom edge of the egg to the page and added a stick on butterfly.  

Wednesday, August 1, 2012

Quiet Book - Ladybug - Page 8

I found the idea for this cute little ladybug on http://jocelynandjason.blogspot.com.  The dots on the ladybug are snaps so you can take them off and then put them into the zippered compartment. 

For this project I needed a page and a half of black felt, a page of red felt, a zipper and 8 snaps of size 2/0 (as well as my 8x10 Pellon page and some Wonder Under)

The first thing I did was draw a ladybugish shape on my Wonder Under, cut it out, iron it to the black felt and cut that out. 

Then I taped the red felt to the wonder under side so that I could cut to match the ladybug. I did this for both of the red wings.  


Then I peeled off the paper part of the Wonder Under and Ironed (with my damp cloth) to attach the black ladybug to my Pellon page.  


Next, I cut out 16 black circles by tracing one of my spools of thread.   


This was my first attempt at sewing a zipper.  Doing it on a project like this made it a lot less intimidating.  It seemed to go pretty well.  Then I marked where I wanted my ladybug's dots and hand sewed the snaps on.     


The next step was to sew the winged part onto the black ladybug.  This was actually a bit more of a challenge than I expected.  A page of Pellon and 2 layers of felt caused my sewing machine to have some problems.  Probably has something to do with a setting I had it on or the foot I was using or something.  Sure wish I could remember everything they went over in our classes.   The other problem was that the felt stretches as you sew it so even if it looks like it's going to line up perfectly, by the end it's a little off.  Then I added some antennae and some little stick on ladybugs.  These seem to hold a lot better than the butterflies I worked with yesterday. 
 
 
Next step was to work on the dots.  After sewing 8 snaps on the ladybug wings, I was not super excited to sew anymore snaps.  It's a tedious job, but these seemed to go a little faster.  Perhaps it's because I was cooking dinner at the same time (cauliflower crust pizza - yum!) so I had lots of little breaks between snaps.

After sewing on snaps on 8 of the dots, you'll have 8 dots left over.  For those dots, I ironed on some Wonder Under. 

After cutting them out and peeling off the paper, I put them back to back with the dots that had the snaps.  Make sure you don't cover up the snap partI actually did make that mistake on one of them.  Oops.